A New Bow Fender For My Susan Skiff
by Rick Jacks
Let me start by answering the oft-asked question "why does your skiff need a bow fender"? Bear with me. This spring marks the beginning of my 31st season with my Susan skiff Tug & Jed. I didn't need a bow fender in the early days because my neck allowed me to swivel my head like an owl (well, almost). Not any more!
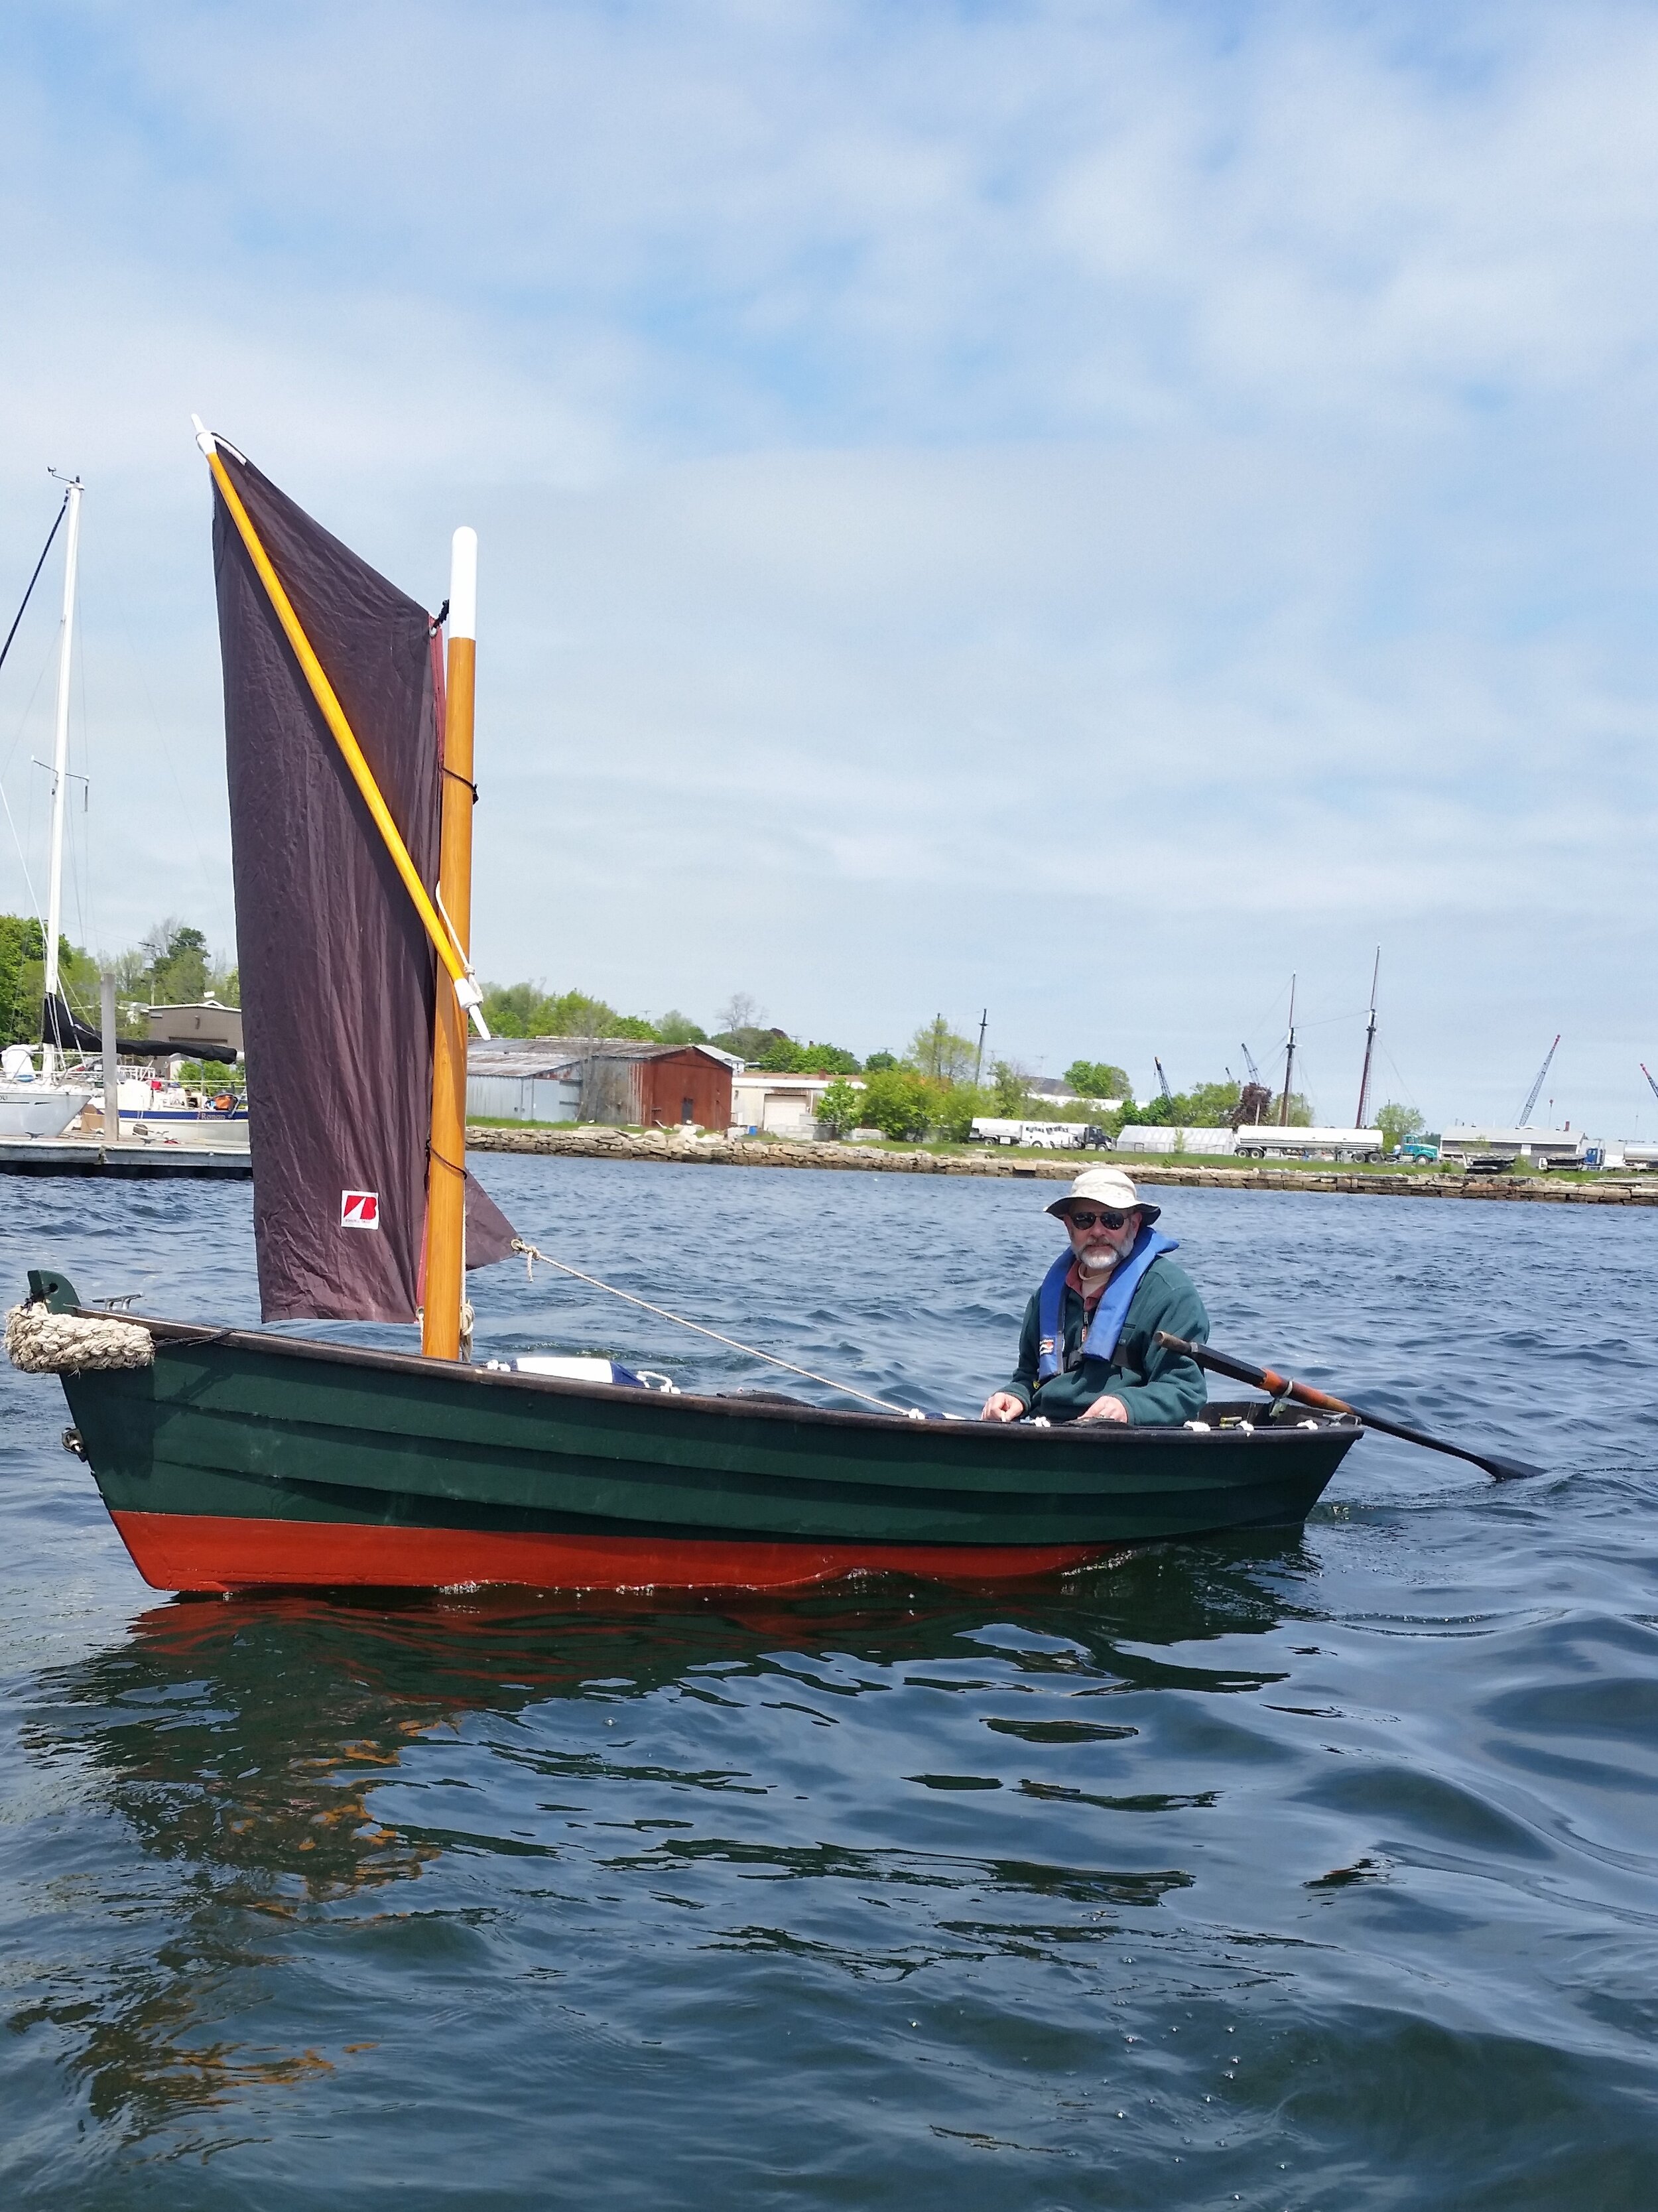
Rowing in a crowded mooring field like Rockland Harbor, mostly looking where you've been rather than where you're going, can make for some semi-violent stops. My personal nemesis is green can # 9 just off the Apprenticeshop pier. I've "verified its position" more than once. But when you have a good bow fender, these are just insults to your pride.
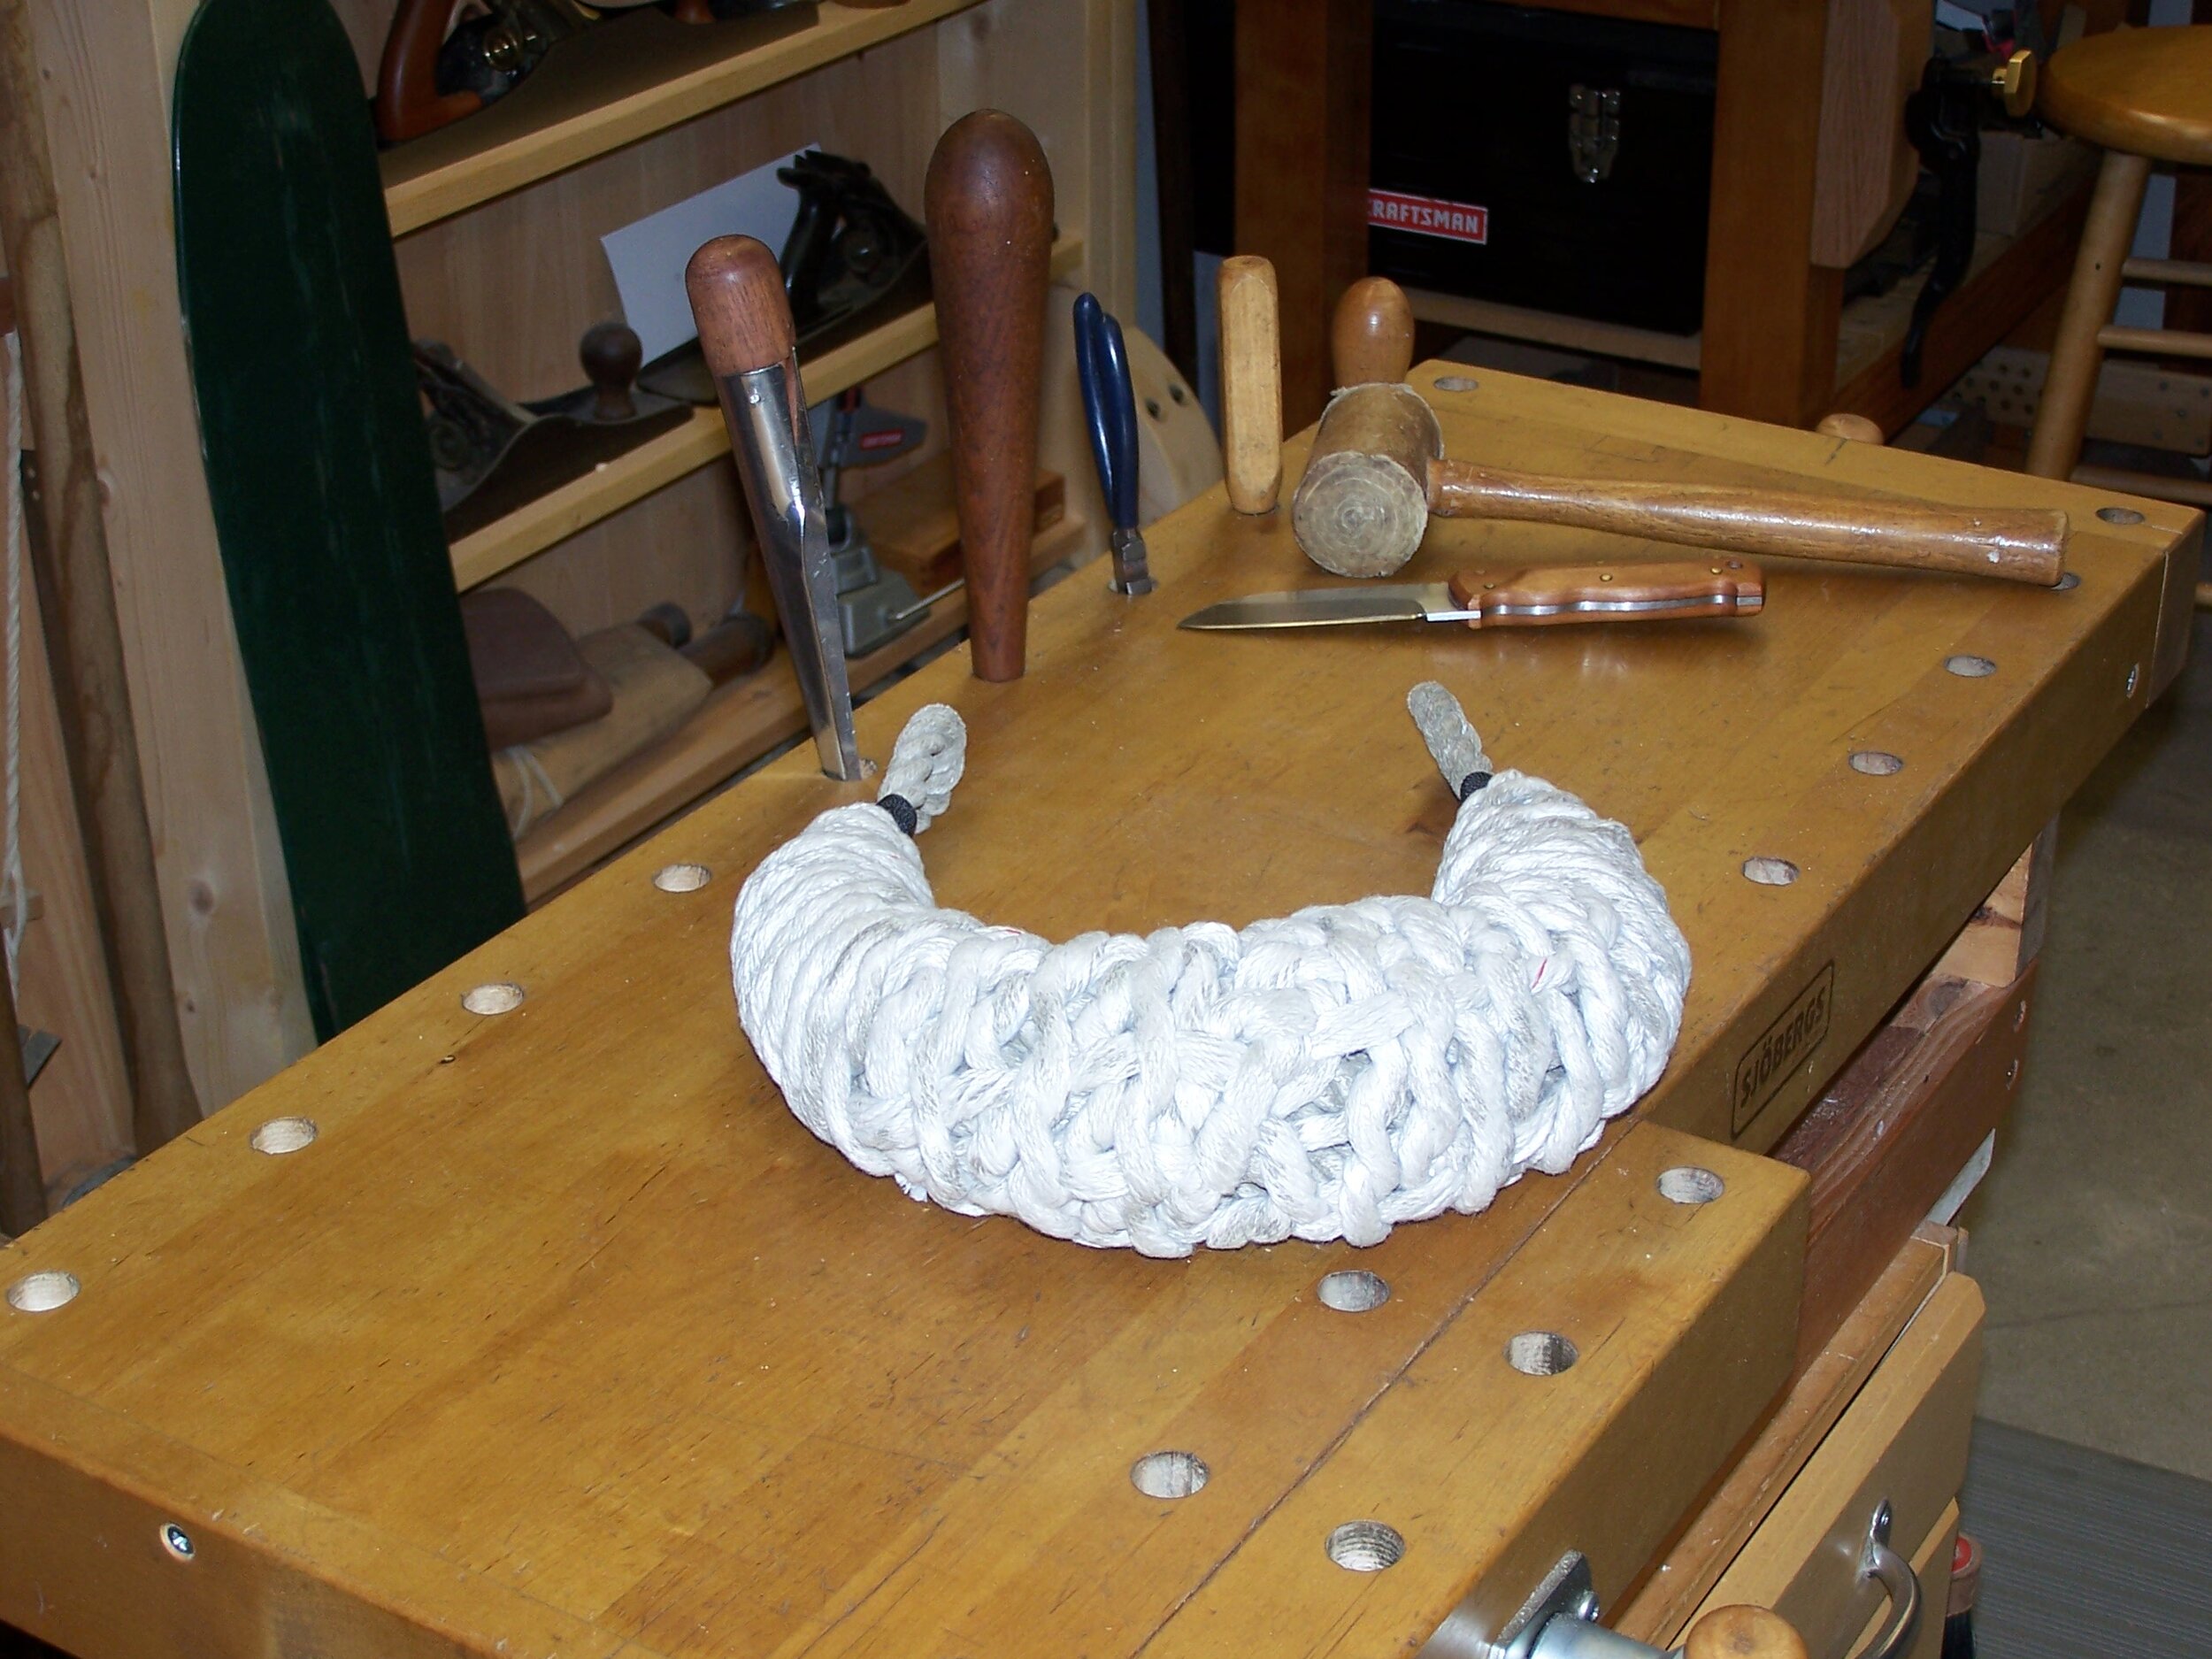
For many years, I've used a store-bought, manila one that has seen its day and needs replacing. They’re not found on chandlery shelves anymore and to have one made by a professional rigger would be very expensive. I'd never made one myself but had made regular rope side fenders so I thought I’d give it a try.
I turned to my marlinespike seamanship books for guidance but couldn't find anything more than a general description. I figured I'd apply the basics and press on. You start by rummaging around looking for that old coil of rope that was "too old to use but too good to throw away". In my case that was a coil of half-inch, three-strand Dacron from an old block and tackle rig.

The first task is to create a tapered core of chopped sections. I bound them together with tarred synthetic twine using constrictor knots. I then measured off two twelve-foot pieces and made a small loop in the middle of each using a flat seizing. You then unlay all the strands up to the seizing. Fix one loop to the core with a section of plastic covered solid copper wire looped through the eye and hooked to one of the core lashings.
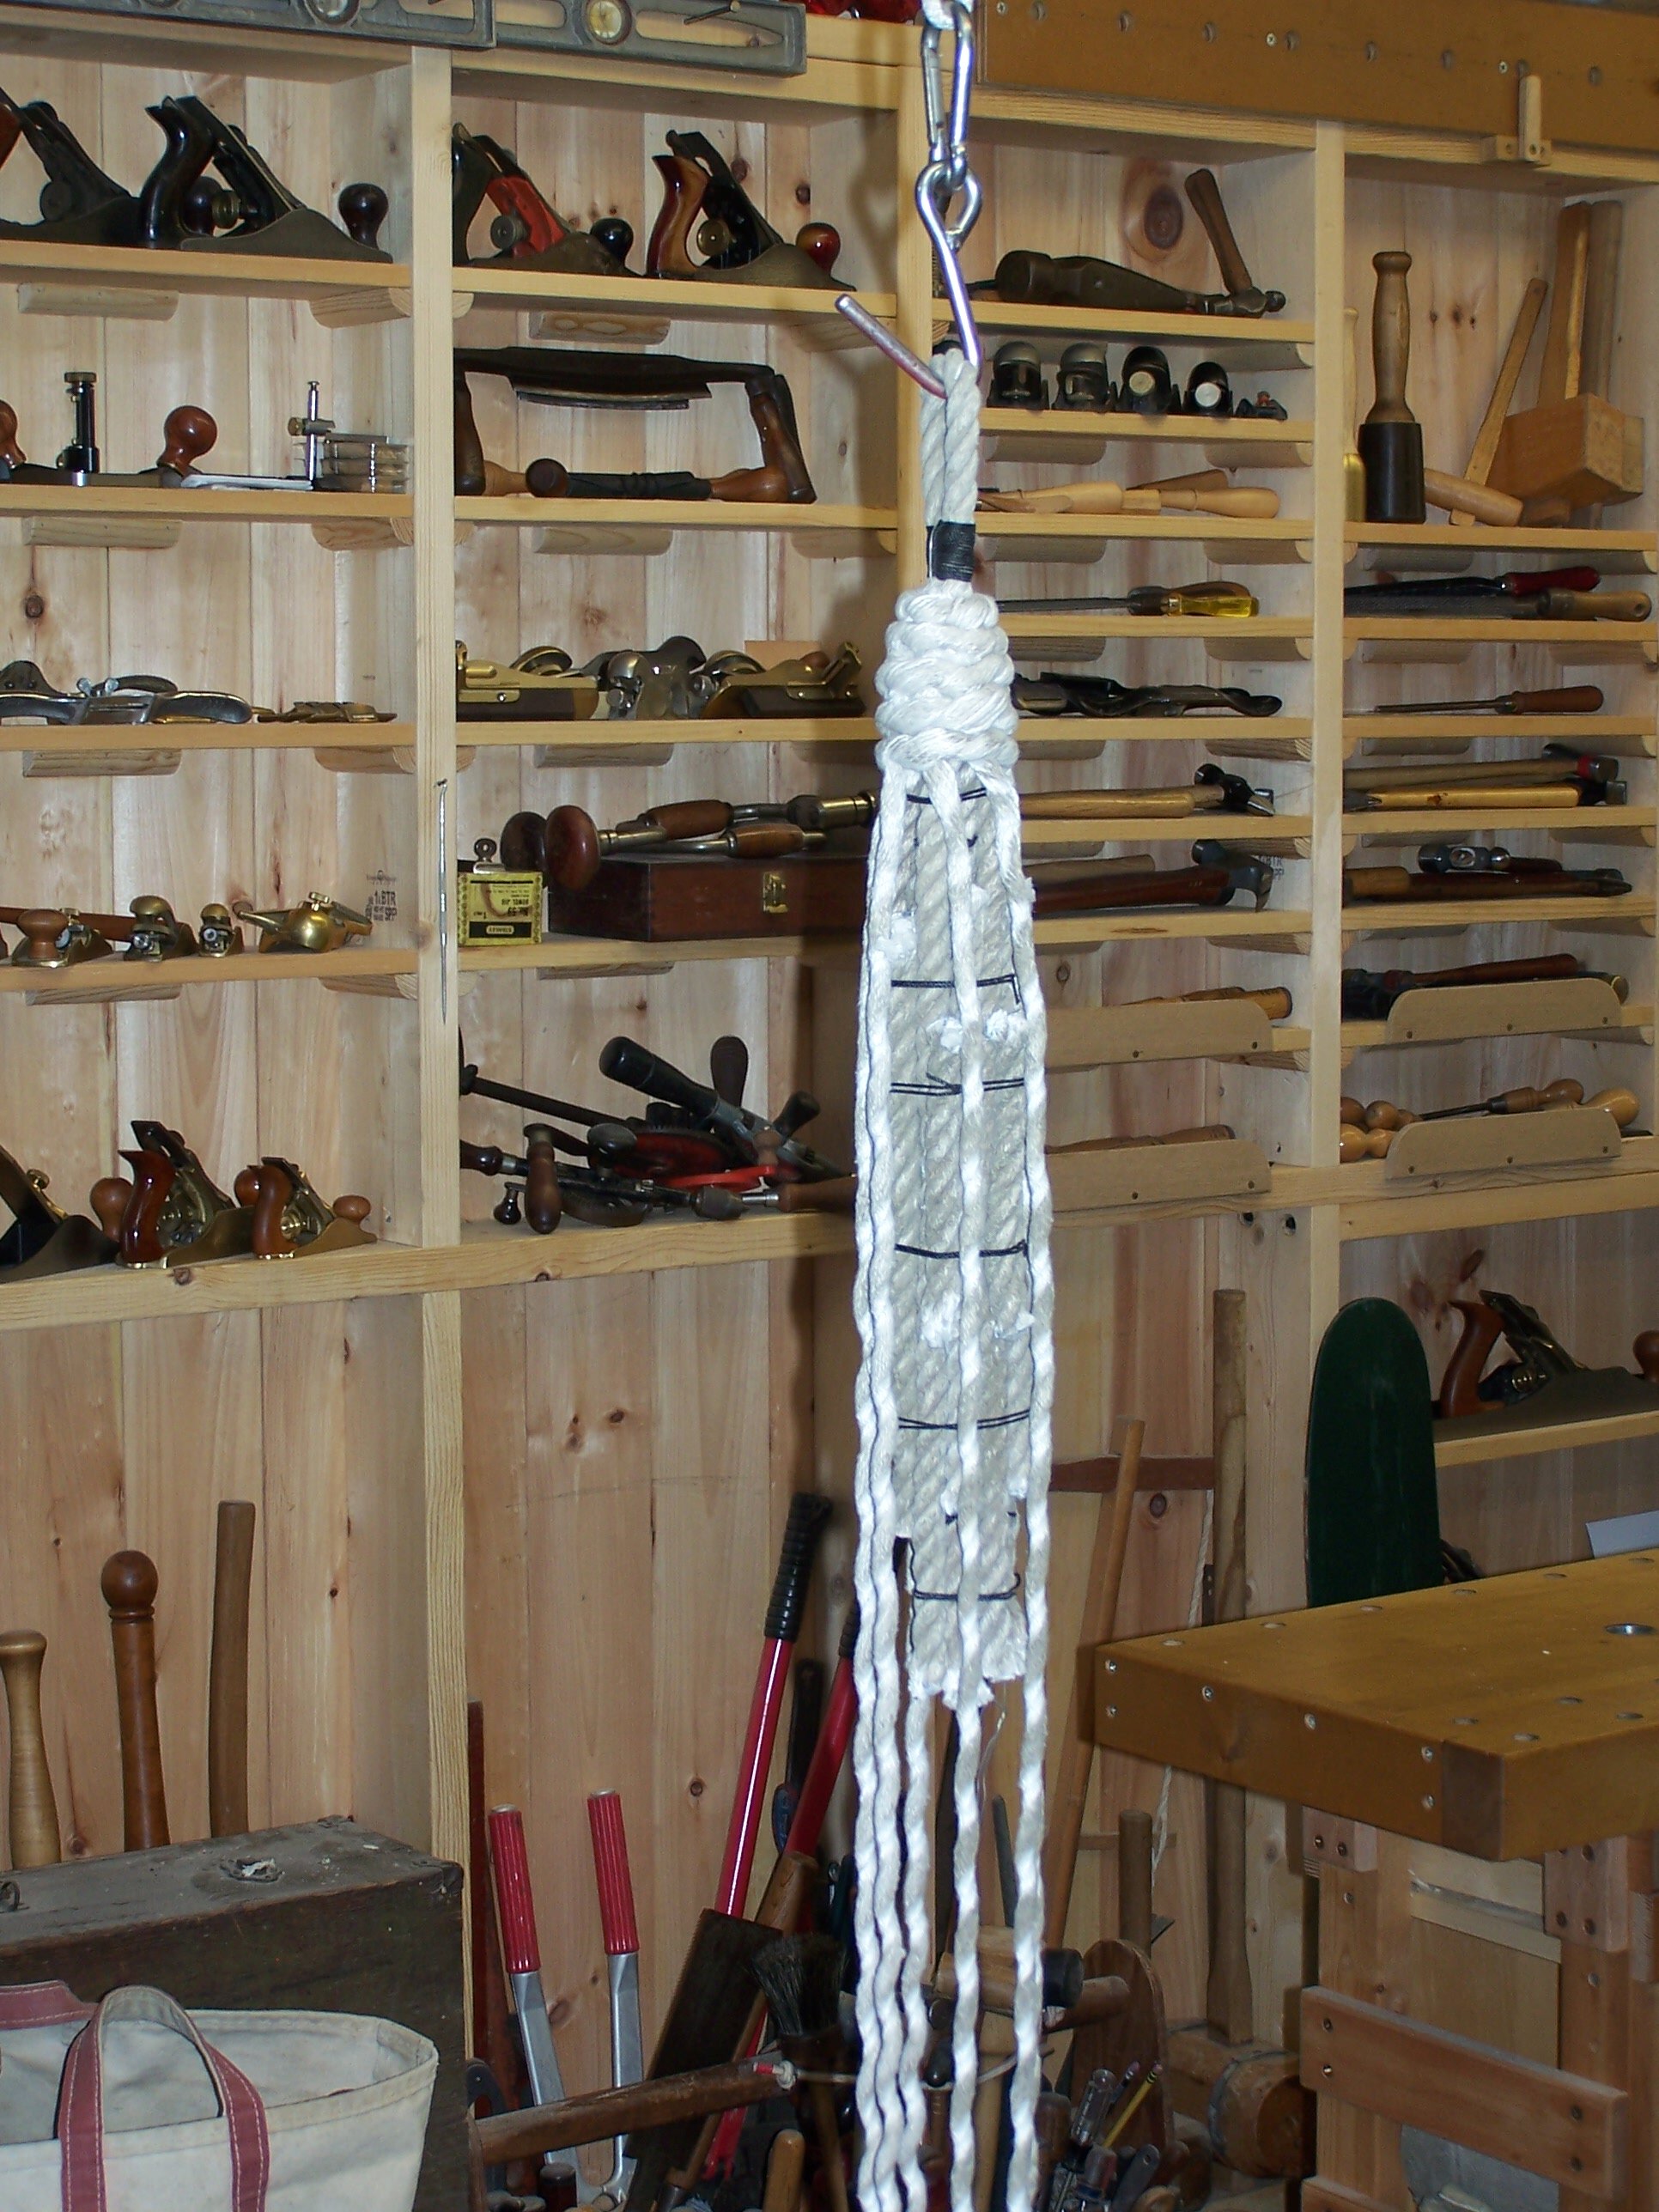
Hanging it up vertically really helps maintain your sanity for what comes next. You cover the core with multiple six-strand wall knots (think wall and crown knot) tied one below the other, the other, the other.... until you reach the middle of the core. Then simply (tediously) reverse the process with the next section of loop/six-strand and "wall away" until you meet in the center.
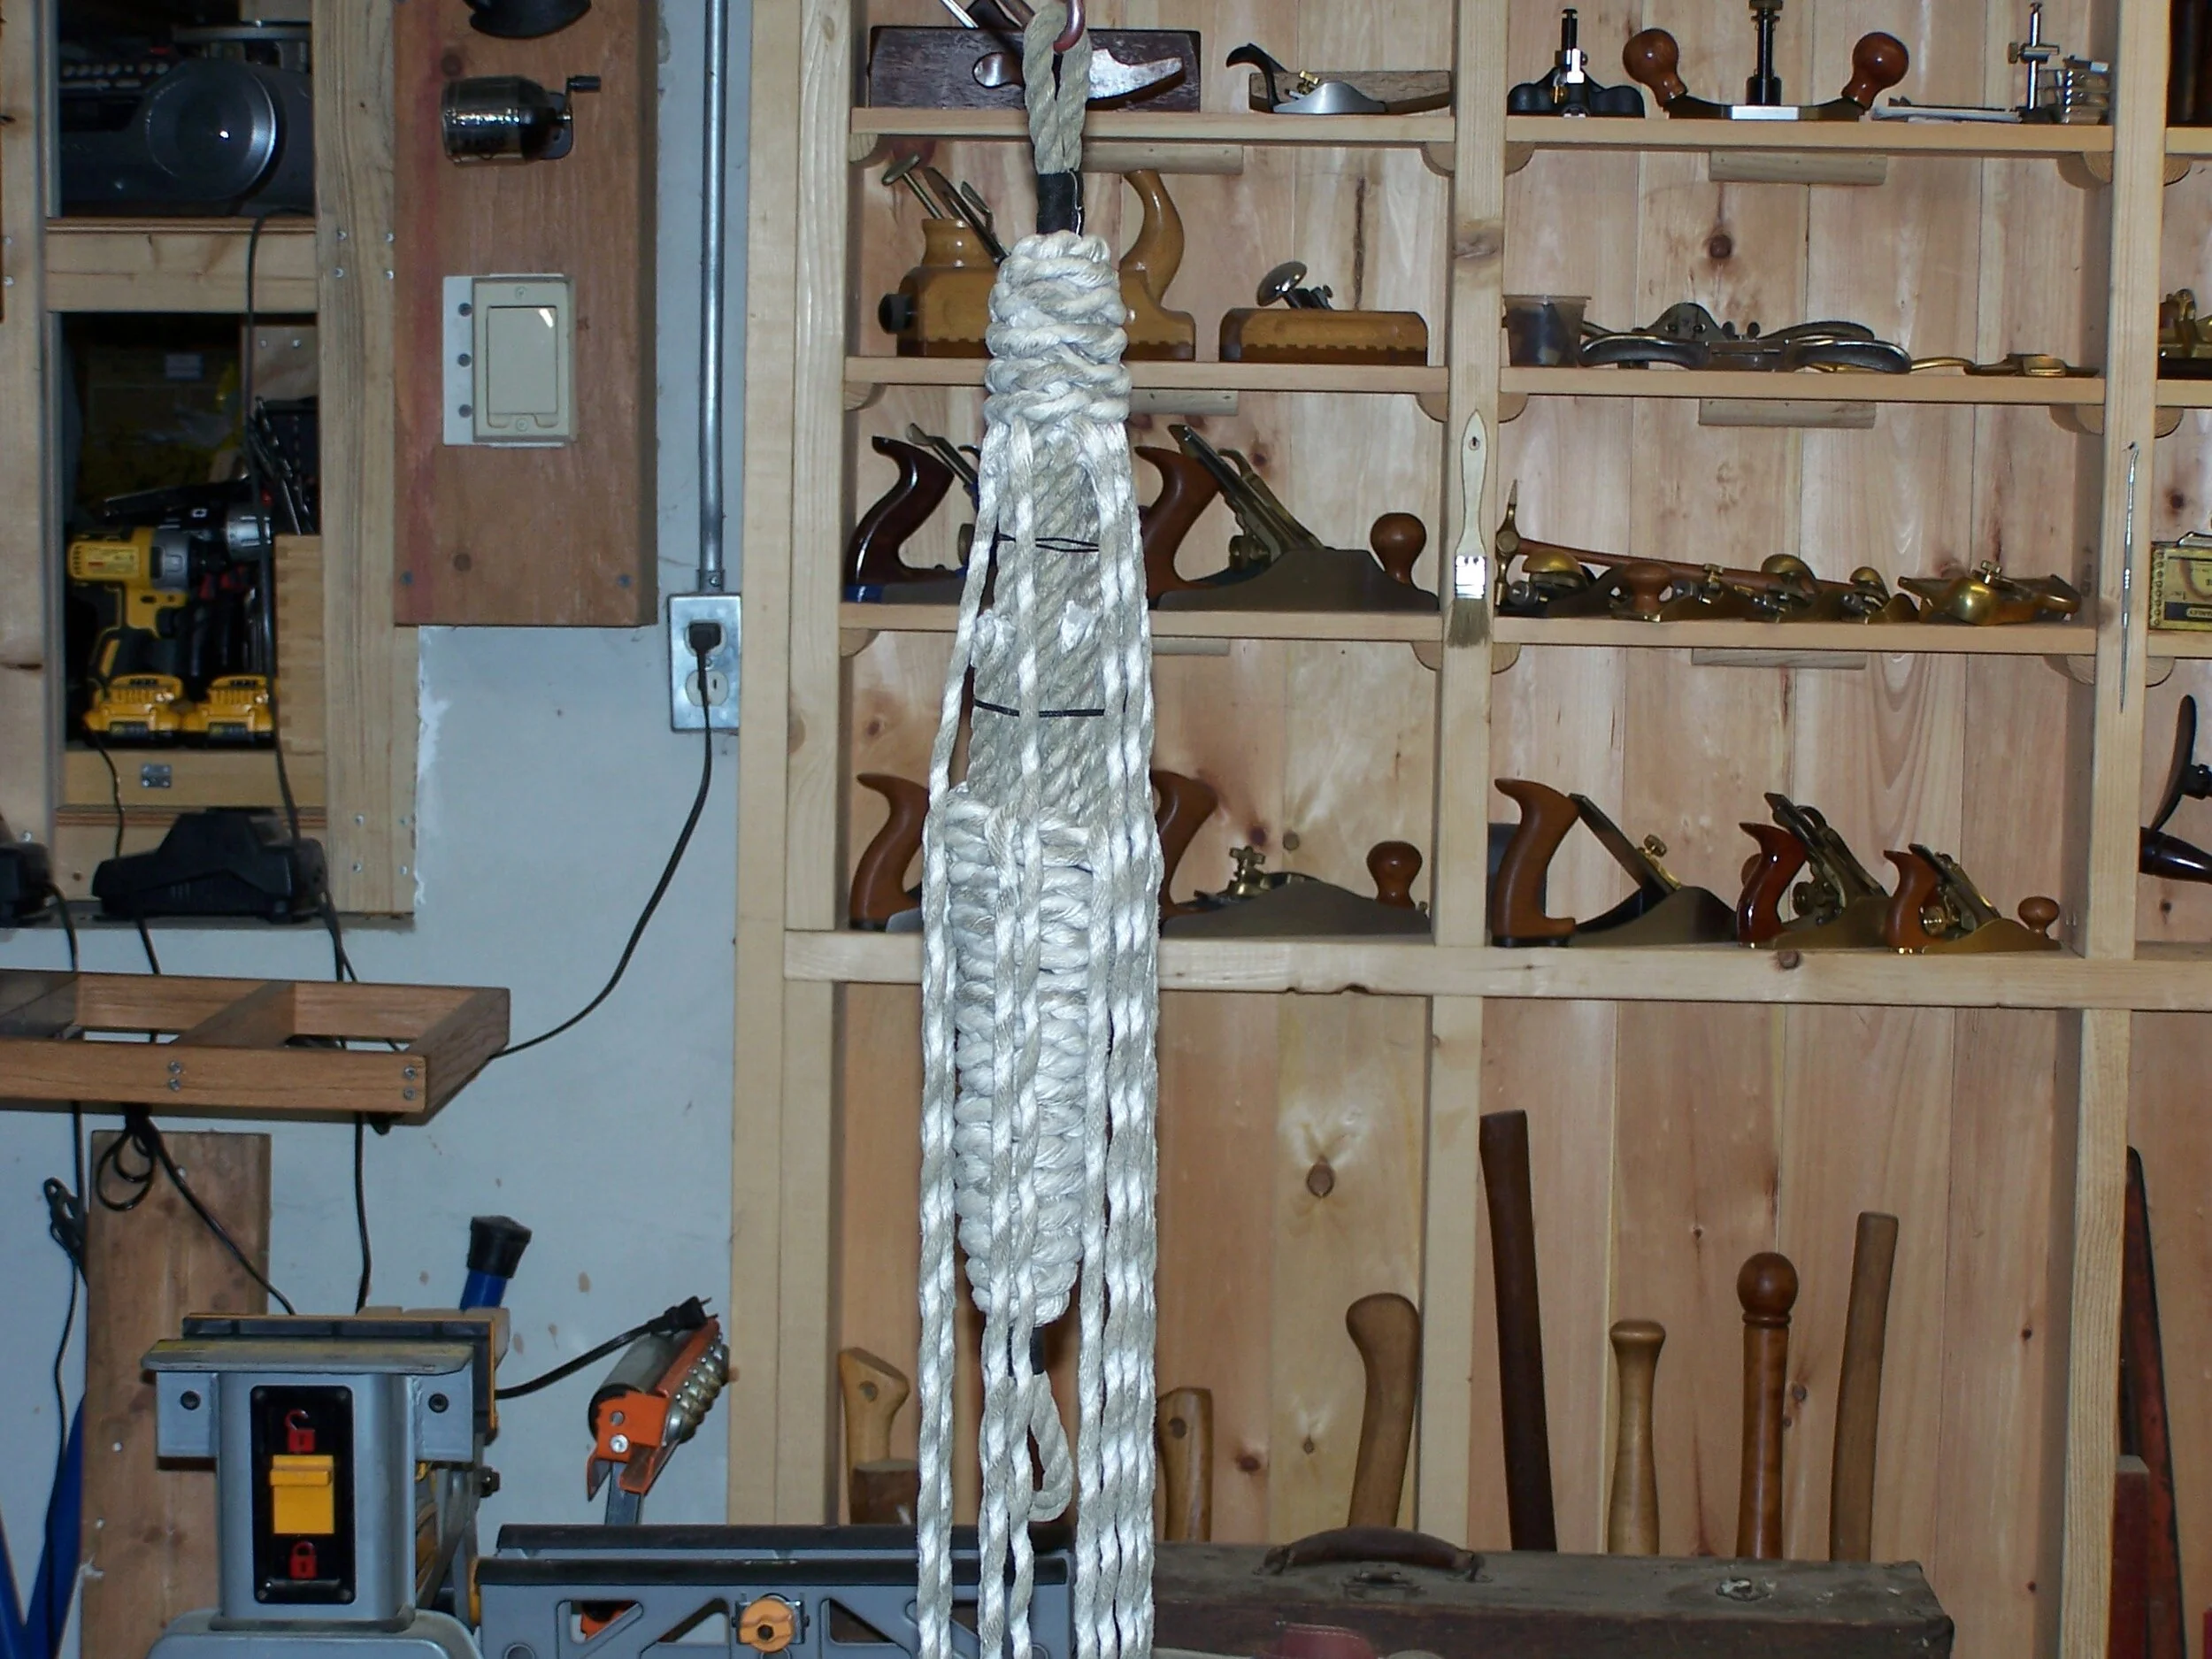
The next requirement was the great unknown for me. You need to "marry" the twelve opposing strands in a way that lets you weave the strands (over one, under the next) into the opposite covering of wall knots until they're buried enough so that you can cut them off and pound the fender until they just about disappear. I married them using overhand knots in opposing strands in the same way you complete a long splice. This is definitely a case where a picture is worth a thousand words.


I'm no expert and it didn't turn out perfect and I've some thoughts about a few changes I'd make in the next one, but it's perfectly good and should last a long while. Come on can #9, bring it on!